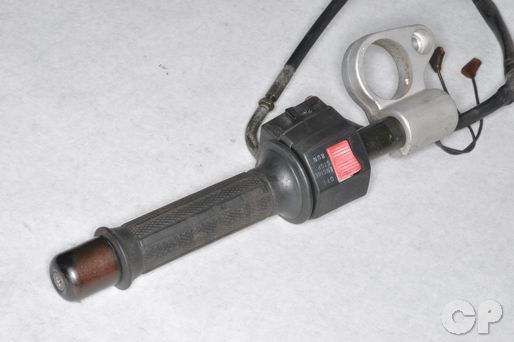
Handlebar
SAFETY FIRST: Protective gloves and eyewear are recommended at this point.
Removal
To remove the front brake master cylinder see the Master Cylinder topic.
Unplug the handle bar switch connectors.


Remove the clip-on handlebar bolt caps. Carefully pry the caps out with a pick or a small flat blade screwdriver.


Each clip-on handlebar is mounted to the upper fork clamp with a nut and bolt. Hold the nuts with a 14 mm wrench and loosen the bolts with an 8 mm Allen. The 750 models have a single handle bar holder piece for both bars that has four bolts.


Remove the nuts, bolts, and the clip-on handle bars. Support the bars so that they do not hang by the cables, wires, or brake hose.


Loosen the bar end screw with a #3 Phillips screwdriver. Remove the screw and the bar end from the bar.


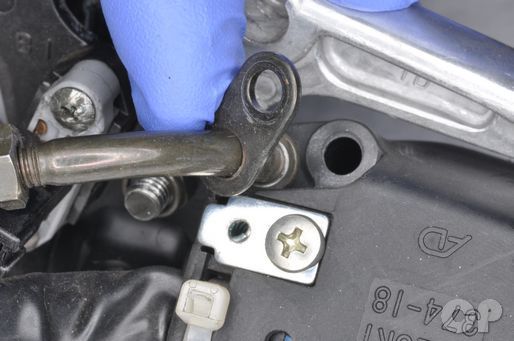
Remove the inside right handlebar switch housing screw with a #2 Phillips screwdriver.


Remove the forward right handlebar housing mounting screw with a #2 Phillips screwdriver.
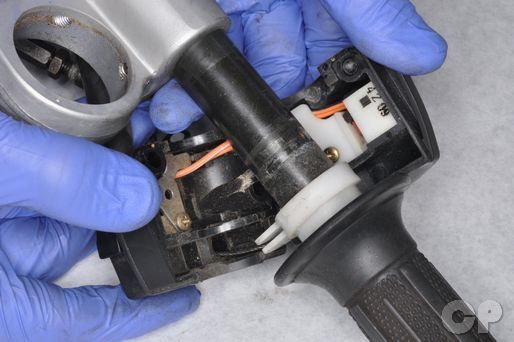
Separate the halves of the switch housing.


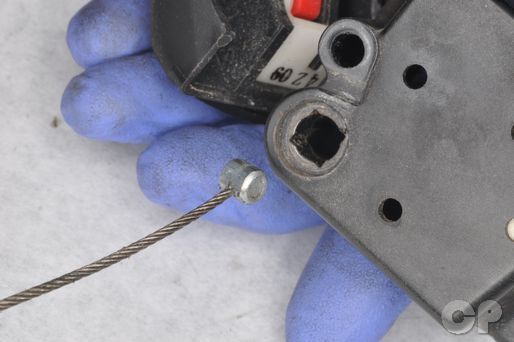
Free the throttle cable from the throttle tube.


Free the throttle cable from the housing and slide the throttle tube off of the bar.


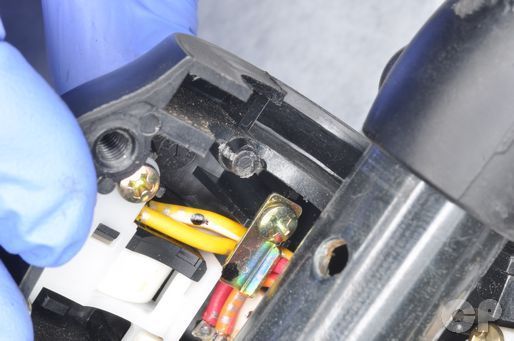
Remove the choke cable set screw and left switch housing screw with a #2 Phillips screwdriver.


Separate the left switch housing. Free the choke lever from the housing and cable.


Unplug the clutch switch.


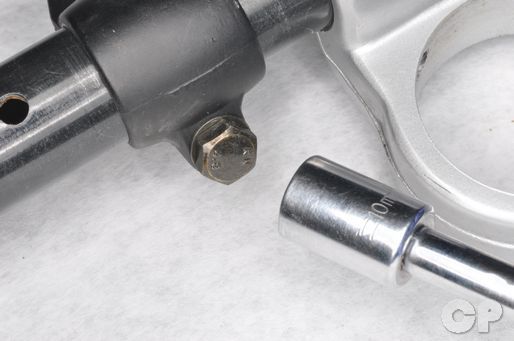
Loosen the clutch lever pivot nut and bolt with a 10 mm socket. Remove the nut and bolt.
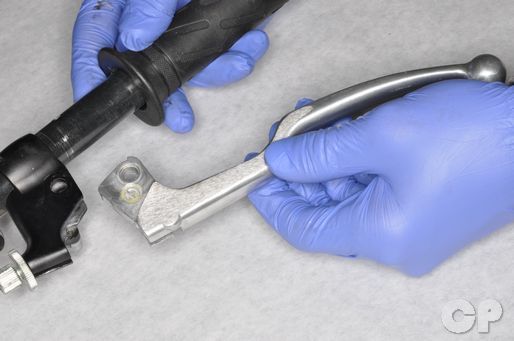
Remove the clutch lever.
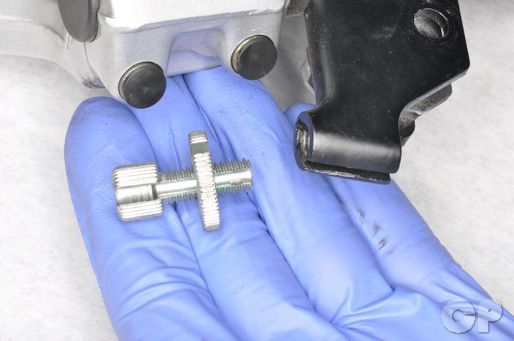
Unscrew the clutch cable adjuster.
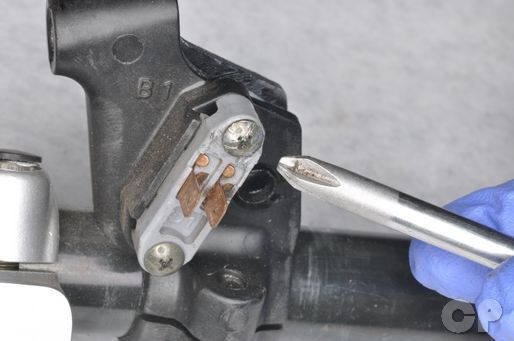


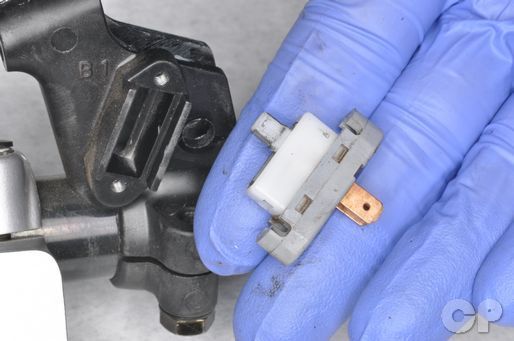
Remove the clutch switch mounting screws with a #1 Phillips screwdriver. Remove the clutch switch.
Loosen the clutch lever perch bolt with a 10 mm socket. Slide the clutch perch down and off of the bar.


Pry off and remove the inside bar end cap.


Pry out and remove the bar pinch bolt caps.


Remove the pinch bolts with an Allen.


Slide the bar out of the clamp. Note the notches were the camp bolts pass the bar.
Grips
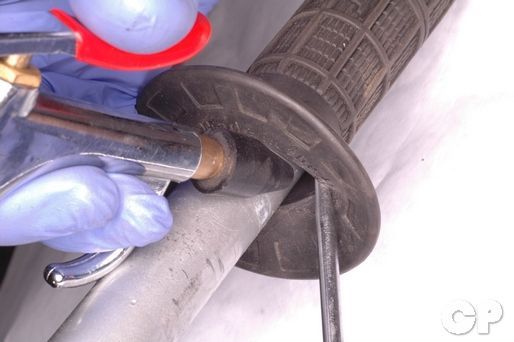
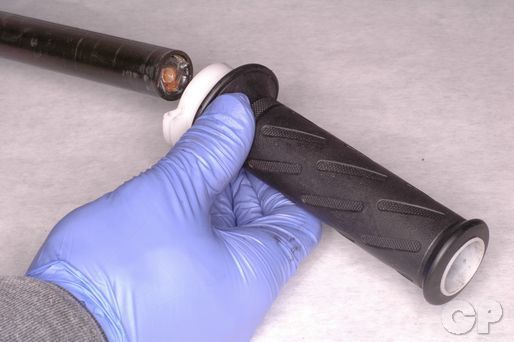
If you plan to replace the grips you can slice them lengthwise with a razor blade and peel them off. To remove the grips without cutting them use a screwdriver to open a gap between the grip and the handlebar. Spray in contact cleaner to break up the grip cement. Use compressed air to expand the grip so it can be easily slid off the end of the handlebar and if you don't have air just twist. Note the relationship between the angle of the grip and the throttle tube so that the new grip can be installed with the correct angle.
Before installing the grips to either the throttle tube or the handlebar, wipe down the area with a brake or parts cleaner that will dry without leaving a residue. When you are sure the area is dry apply grip cement to the bar or tube. Install the left grip at an angle of your preference. Install the throttle grip onto the tube with the same angle as the original grip.
Installation
Insert the bar into the clamp. Line up the bolt recesses with the bolt holes.
Install the bar clamp bolts and tighten them securely with an Allen.
Install the plastic caps into the clamp bolts and the inside end of the bar.
Slide on the clutch lever perch and tighten the bolt securely with a 10 mm socket.

Install the clutch switch into the perch and install the mounting screws. Tighten the screws securely with a #1 Phillips screwdriver.
Loosen the clutch lever pivot bolt and nut. Tighten them securely with a 10 mm socket.
Fit the end of the choke cable into the lever. Install the lever into the switch housing.
Install the left switch housing so that its post fits into the hole on the bar.

Install the choke cable set screw and left switch housing screw with a #2 Phillips screwdriver.
Plug in the clutch switch connector.
Slide the throttle tube onto the right bar.
Install the throttle cable into the right switch housing.
Apply grease to the ends of the throttle cable and fit the cable into the throttle tube.
Fit the switch housing onto the right handlebar.
Install the right handle bar switch housing. Insert the screws in their proper holes and tighten them securely with a #2 Phillips screwdriver.


Install the bar ends. Tighten the screws securely with a #3 Phillips screwdriver.
To install the front brake master cylinder see the Master Cylinder topic.
Install the clip-on handle bars.
Hold the nut with a 14 mm wrench and tighten the bolt to specification with an 8 mm Allen.
| Handlebar holder mounting bolt (600) | 50 - 60 | 36.0 - 43.5 |
| Handlebar holder mounting nut (750) | 27 - 42 | 19.5 - 30.5 |

Insert the clip-on handlebar mounting bolt caps.
Adjust the clutch cable. See the Clutch Cable Adjustment topic for more information.
Adjust the throttle fee play. See the Throttle Free Play topic for more information.
Copyright - Cyclepedia Press LLC

Note: If you are viewing this document offline be sure to visit the latest version online at http://www.cyclepedia.com before attempting any repairs. Updates are made without notice.